

New Blynk based All In One Home Automation
In this project I’ll show you how you can build an all-in-one Home Automation project using ESP32 and New Blynk2.0. Using this, you’ll be able to control upto 4 AC appliances and also able to control speed of the fan using capacitive dimming method. This project works with Blynk App and also with manual switches so that you can still control the appliances when their is no internet connectivity
Watch out video tutorial if reading bores you
This is the complete tutorial video about the project. If you still wants to learn in written format, just continue reading.
Components Required
- ESP32 DEV Kit V1 Board
- Hi-Link 5v Power Supply(5W)
- Terminal Connector x 10
- 5V Relay x 7
- Diode 1N4007 x 7
- Transistor BC547 x 7
- Resistor 330Ω 1/4W x 7
- Resistor 220kΩ 1/4W x 2
- Resistor 2.2Ω 1/2W x 2
- Resistor 10kΩ 1/4W x 7
- Slide Switch x 1
- Male Connector x 2 strip
- Capacitor 2.2uF 250v x 1
- Capacitor 3.3uF 250v x 1
Schematic
After getting all the components, you need to connect them all according to below mentioned diagram

Due to a lot of connections in this project, we designed our own custom PCB for the project and ordered it directly from JLCPCB. Here is the image of the PCB received

After that we soldered all the components on it and here is the final ready project that is also available for sale.

Coding & Blynk Configuration Part
To upload the code in the ESP32 board, you need to install Arduino IDE and ESP32 boards Packages in your computer. Installing Arduino IDE is pretty straight forward, while installing ESP32 boards packages involves couple of steps. Just watch out this video to know how to install them.
After that, you’ll also need Blynk IoT library installed to compile the code successfully. For that you just need to goto your Arduino IDE, click on Sketch>Include Library>Manage Libraries

Now here just search for Blynk, and click on the install button as shown in the image

This will install the latest version of Blynk library in your Arduino IDE. By doing these steps, now you will easily able to upload the Home Automation code on your ESP32 board.
I have already uploaded the code on my GitHub Repository, so just download that file from there and after downloading just open up the All_in_One_New_Blynk.ino file. In this file, you just need to change two things here, first is Template ID and second is Device Name

Now these are the parameters which you can get after creating a Template in Blynk.cloud website. Creating template is very simple inside new blynk platform. You can refer my getting started video about new blynk platform to know how to use it
After that, the last step remaining is to download Blynk Mobile application and configure mobile dashboard. Blynk mobile app is available for both Android and iOS platforms. After downloading, Installing and logging to your account you need to add device in it.
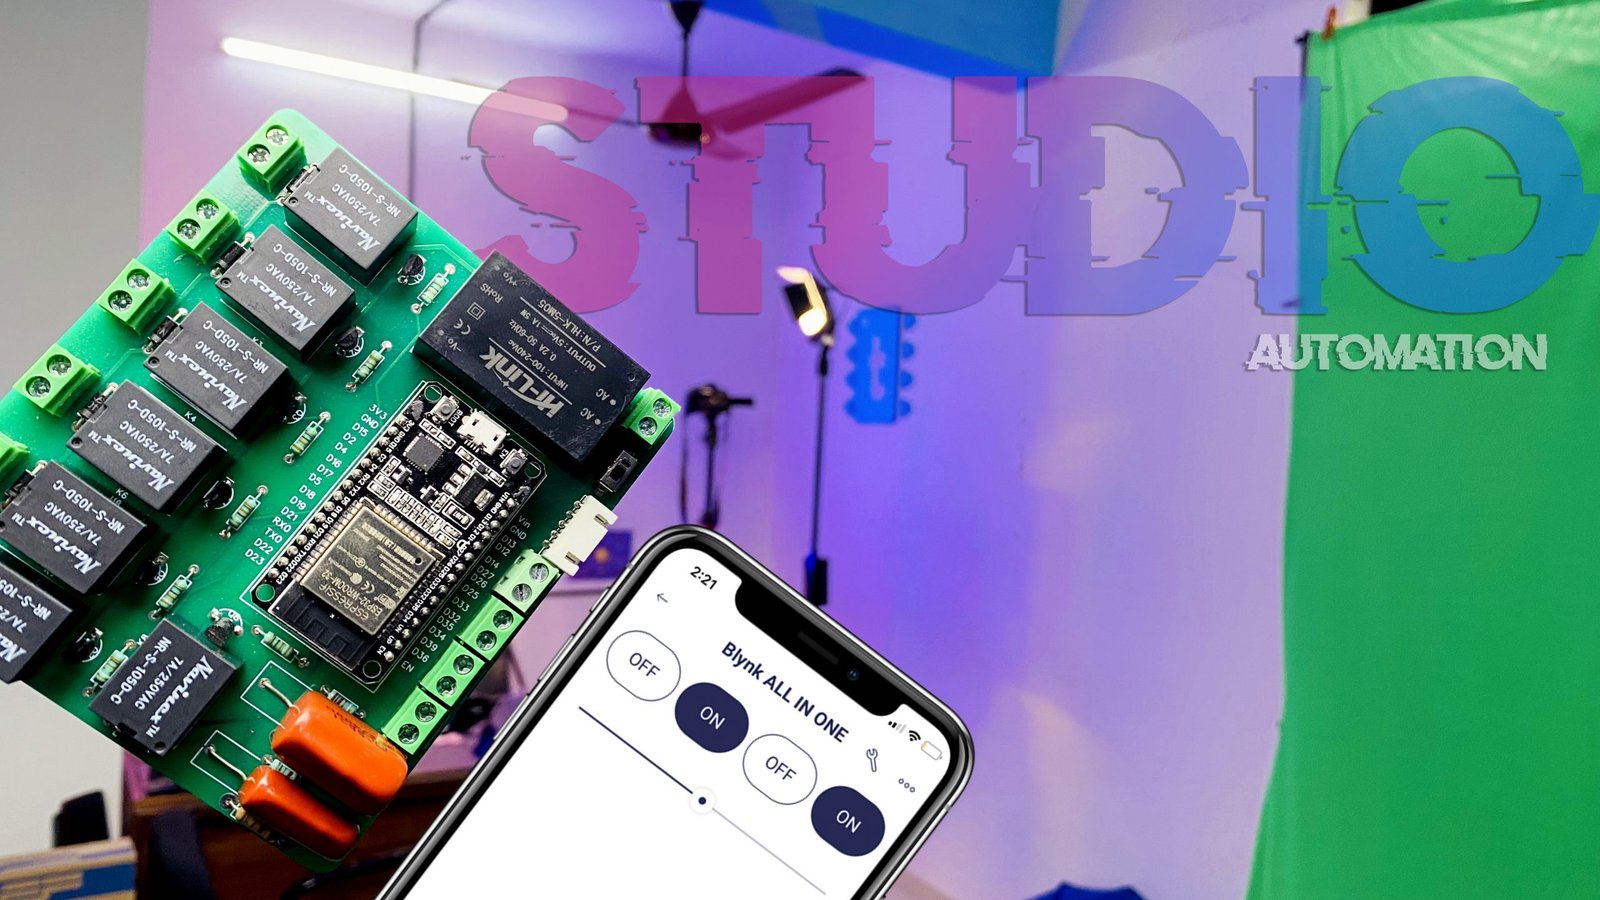
The steps for adding device and providing wifi credentials over mobile phone is also covered in the above video so it won’t be any issue for anyone. After adding the device, now you just need to create mobile dashboard that contains 4 buttons and one slider widget. The final result on mobile app will look like this.

With this, we have successfully configured all the things needed to run this project. Now we are just left with installing this project in the switch board.
Installation Part
After successfully coding and configuring all the things, now we are ready to install this project. Below I have attached one image that will guide you with making connections of Appliances and Switches with our PCB project.

Note :- Making connections of AC appliances may lead to electric shocks if not handled properly. I’ll suggest you to consult electrician if you have any confusion with this connection diagram. Also make sure you turn off Main’s Switch before opening the switch board
Testing The Project
So now we are done with all the parts of the project, now you can easily control the appliances connected to the project with the help of Blynk Mobile dashboard, Blynk Web Dashboard and Manual Switches along with their realtime feedback on Blynk Cloud. Also this project works when we don’t have any internet connectivity with the help of manual switches and manual fan regulator. Here are the sample images showing the working of the project


Project for Sale!!!
Yes, you heard that right, this complete project is out for sale on techiesms. Now you can get the complete project with all the components already soldered on the PCB board delivered at your door step. Then you just need to upload the code on the ESP32 board and you are ready to make your home/office a smart home/office.
Purchasing the project is very simple. Just goto this page and just fill the details and pay for the order. We have kept the price reasonable keeping in student’s budget in mind. And by purchasing you’ll be indirectly supporting team techiesms to make more such cool projects in future.
That’s it about the article, I hope you got to learn something new from it. If is it so, considering sharing this article to your social media handles to let others know about this cool project.


