

Gesture Based Door Lock System
Till now, we have seen many security projects using Arduino like, Fingerprint based door lock, Password based door lock, Knock pattern based door lock etc.. But ever heard unlocking the door by performing 3D gestures in front of the door?
From today, this will also get added to the list as in this article, I’ll be teaching how to make your own Gesture based door lock system using Arduino pro mini and 3D gesture sensor from DFRobot.

Components Required
- Arduino Pro mini – https://amzn.to/2RrEpUE
- 3D Gesture Sensor – https://goo.gl/rH8E82
- Magnetic Door Lock – https://amzn.to/2CpFIZT
- 5V Relay – http://amzn.to/2ChddQC
- BC547 transistor – http://amzn.to/2oiTbfV
- 330E Resistor – http://amzn.to/2ojg8zN
- 1N4007 diode – http://amzn.to/2EM4IuD
- 12V 1A Power Adapter – https://amzn.to/2Cs52yv
- 2 pin screw terminal – http://amzn.to/2EM5Luz
Circuit Diagram

Working of the project
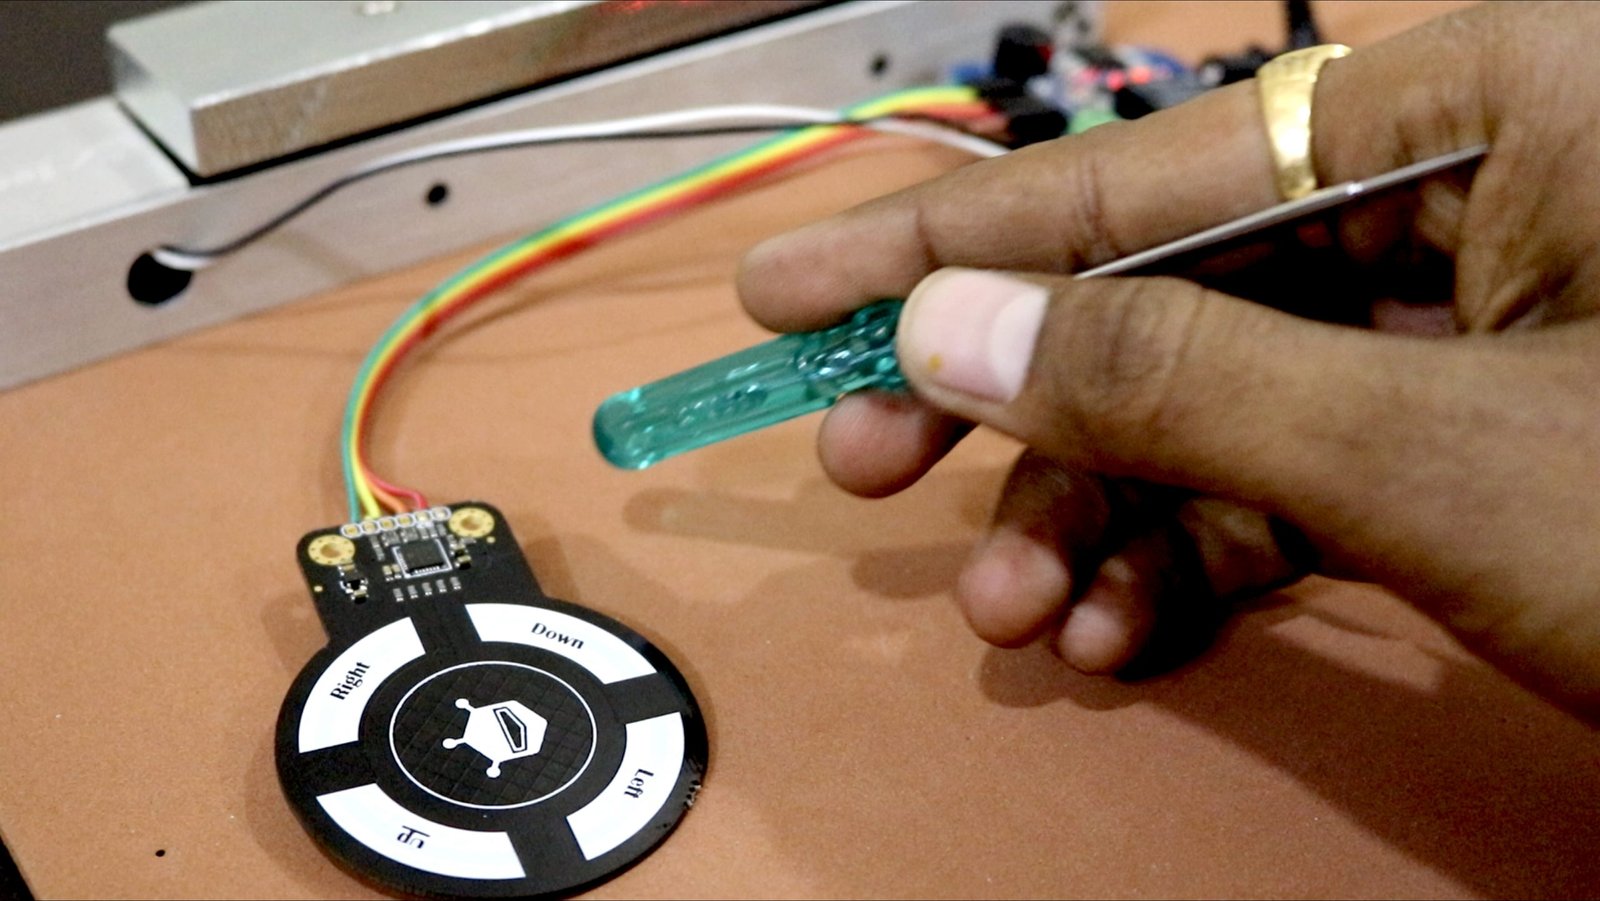
The main component of this project is 3D Gesture sensor from DFRobot. It’s truly a magical sensor. It can detect the gestures performed in front of it within a range of 5-10 cm. I have made a intro video regarding this sensor in which I have shown how to use this sensor with our Arduino Board. I would suggest you to watch this video first to know more about the sensor.
So I have used this sensor for sensing the patterns. Then in the coding, I have predefined one secret 4 gesture code in it. So whenever the gesture performed in front of sensor and the gestures saved in the code matches, the Door gets unlocked. Now for locking and unlocking the door, I have used a Magnetic Door Lock.
This Magnetic Door Lock works with 12V logic. Whenever the lock is provided 12V at it’s input, it gets magnetise and the metallic plate gets stick to it which reveals lock position. And whenever the power supply is removed at it’s input (i.e. 0V) then the coil inside the magnet gets demagnetise and the metallic plate gets easily detached from the magnet which reveals unlock position.
As our arduino pro mini board works on 5V logic level, I have used a 5V relay to provide 12V signal to our magnetic door lock. So this was the complete working of this project.
PCBs
As there are many connections in this project, I designed my own custom made PCB on easyeda.com. After designing it on easyeda, I gave it’s order to one of the largest PCB manufacturing company of China, JLCPCB. Ordering PCBs on JLCPCB is just a matter of 2 mins. You need to upload the gerber file of the PCB which you have downloaded from easyeda, and place your order. You’ll be receiving this amazing PCBs at a very reasonable price of just $2 for 10 PCBs.
Here are some sample PCBs for this project looking at which, you’ll get some idea about it’s quality and looks.


Code & PCB Design
I have upload the code for this project on my GitHub account. You can download the code from here.
I have also made my PCB design public so that you can use that same design or you can even modify it according to your project or purpose. You can download the PCB file from here.
Tutorial Video
If you still have any doubt regarding the project and if you want to understand the code and understand it’s working, kindly watch out my tutorial video on this.